Publishing a Python Package using pypi
As a developer we almost always have the need for readily available software packages to serve various purposes. So, To explore about how those packages are made available could be one of the coolest thing to be known and let’s say there is a open problem and you have an idea to solve it and think it could help the larger mass, then publishing the solution as python package in PyPi is one of the ways that you could actually extend your help.
This blog is going to be about how to publish a python package using PyPi which then can be installed using pip(a python packager manager).
Note - In this post, I’m not going to talk about any legit solution as it doesn’t come under the scope of this article.
What is PyPi - Python Package Index
The Python Package Index, abbreviated as PyPI and also known as the Cheese Shop (a reference to the Monty Python’s Flying Circus sketch “Cheese Shop”), is the official third-party software repository for Python. It is analogous to CPAN, the repository for Perl. Some package managers, including pip, use PyPI as the default source for packages and their dependencies.
Preparing Python Package
As I said earlier, I’m not going to create any legit package. So, If you are here to check out for ideas, then I would suggest you to go through this link - Ideas for Python Package
Assuming that you have all the pre-requisite requirements. If not follow the below mentioned commands to get started.
1. pip(most latest version) - python -m pip install -upgrade pip
2. pip install wheel
3. pip install twine
4. pip install setuptools
5. should posses a `GitHub` account.
Now, let us solve a simple problem “Addition of two numbers”.
Step 1 - Create a container
Create a folder in your local computer where in we can create multiple files and folders required for the process.
In my case I have create a folder named container. You can use any folder name.

Step 2 - Write python files
Let’s complete the functionality side now. create a python file with following code in it.
def add_two_numbers(a, b)
    c = a + b
    return c
Step 3 - Include setup.py, Readme.md and a license file
As we have completed all the functionality side, we now have to handle other aspects so as to get our python package pubished cleanly.
Include a licence file which stats the best interest of package’s usability rules. To understand more about licensing a software package, check out here.

Now, create a setup.py file which contains following contents.

Step 4 - Git Upload and Source distribution
Upload the entire folder to git using git push command.

Run the following command to create a wheel file for the created python package. Go inside the folder which contains setup.py file and run this command.
python setup.py sdist bdist_wheel
Publishing the Python Package to PyPi
Step 5 - Create an account in Pypi
To publish any package in python package index, one should have an account with pypi.org.
Step 6 - Upload package to Pypi
To upload the software package to Pypi, use the following command inside cotainer folder(where )
python -m twine uplaod --repository-url https://upload.pypi.org/legacy/ dist/*If you have got any output like the following, then everything has finished smootly.

Step 7 - Install and test your published package in your local system
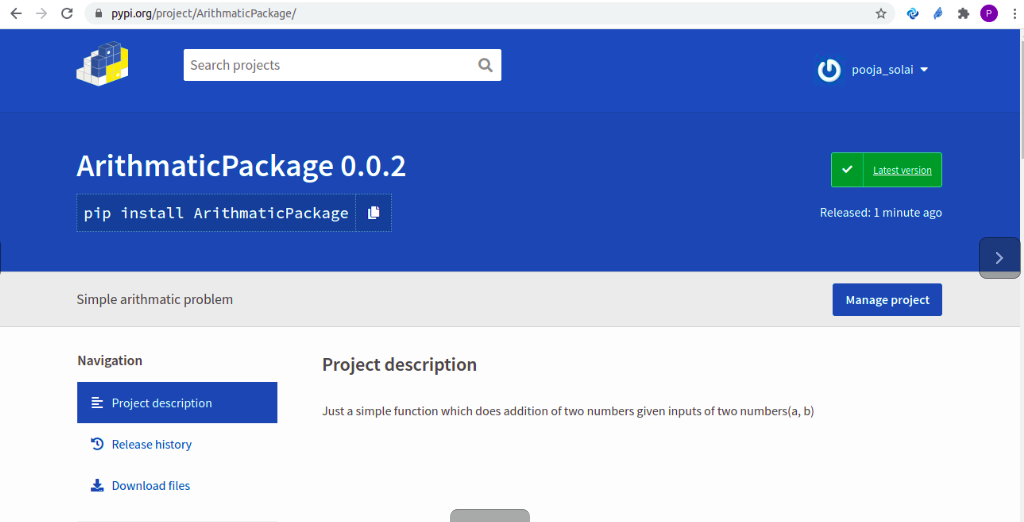
Now, check for the software package that we have published now, is available in pypi.

Now that we have our software package installed in the pypi. Let’s install and check whether everything is working fine.

Congratulations! You have a fully functioning software package under your name.